If you’re in the market for a new asphalt driveway or parking lot, you’ll want to know the process that we follow at our asphalt paving company.
We take great pride in our work and want to ensure that your new asphalt pavement is installed correctly and lasts for years to come. So, without further ado, let’s jump into the 7-step asphalt pavement installation process!

The first step in installing asphalt pavement is to remove the existing asphalt to prepare the surface.
This can be done by milling, which involves using a piece of heavy machinery to grind up the old pavement and create a smooth surface for the new asphalt. Alternatively, the old pavement can be removed manually with shovels and other tools.
Whichever method is used, it’s important to make sure that the surface where the contractors will install asphalt is completely clean before proceeding to the next step.
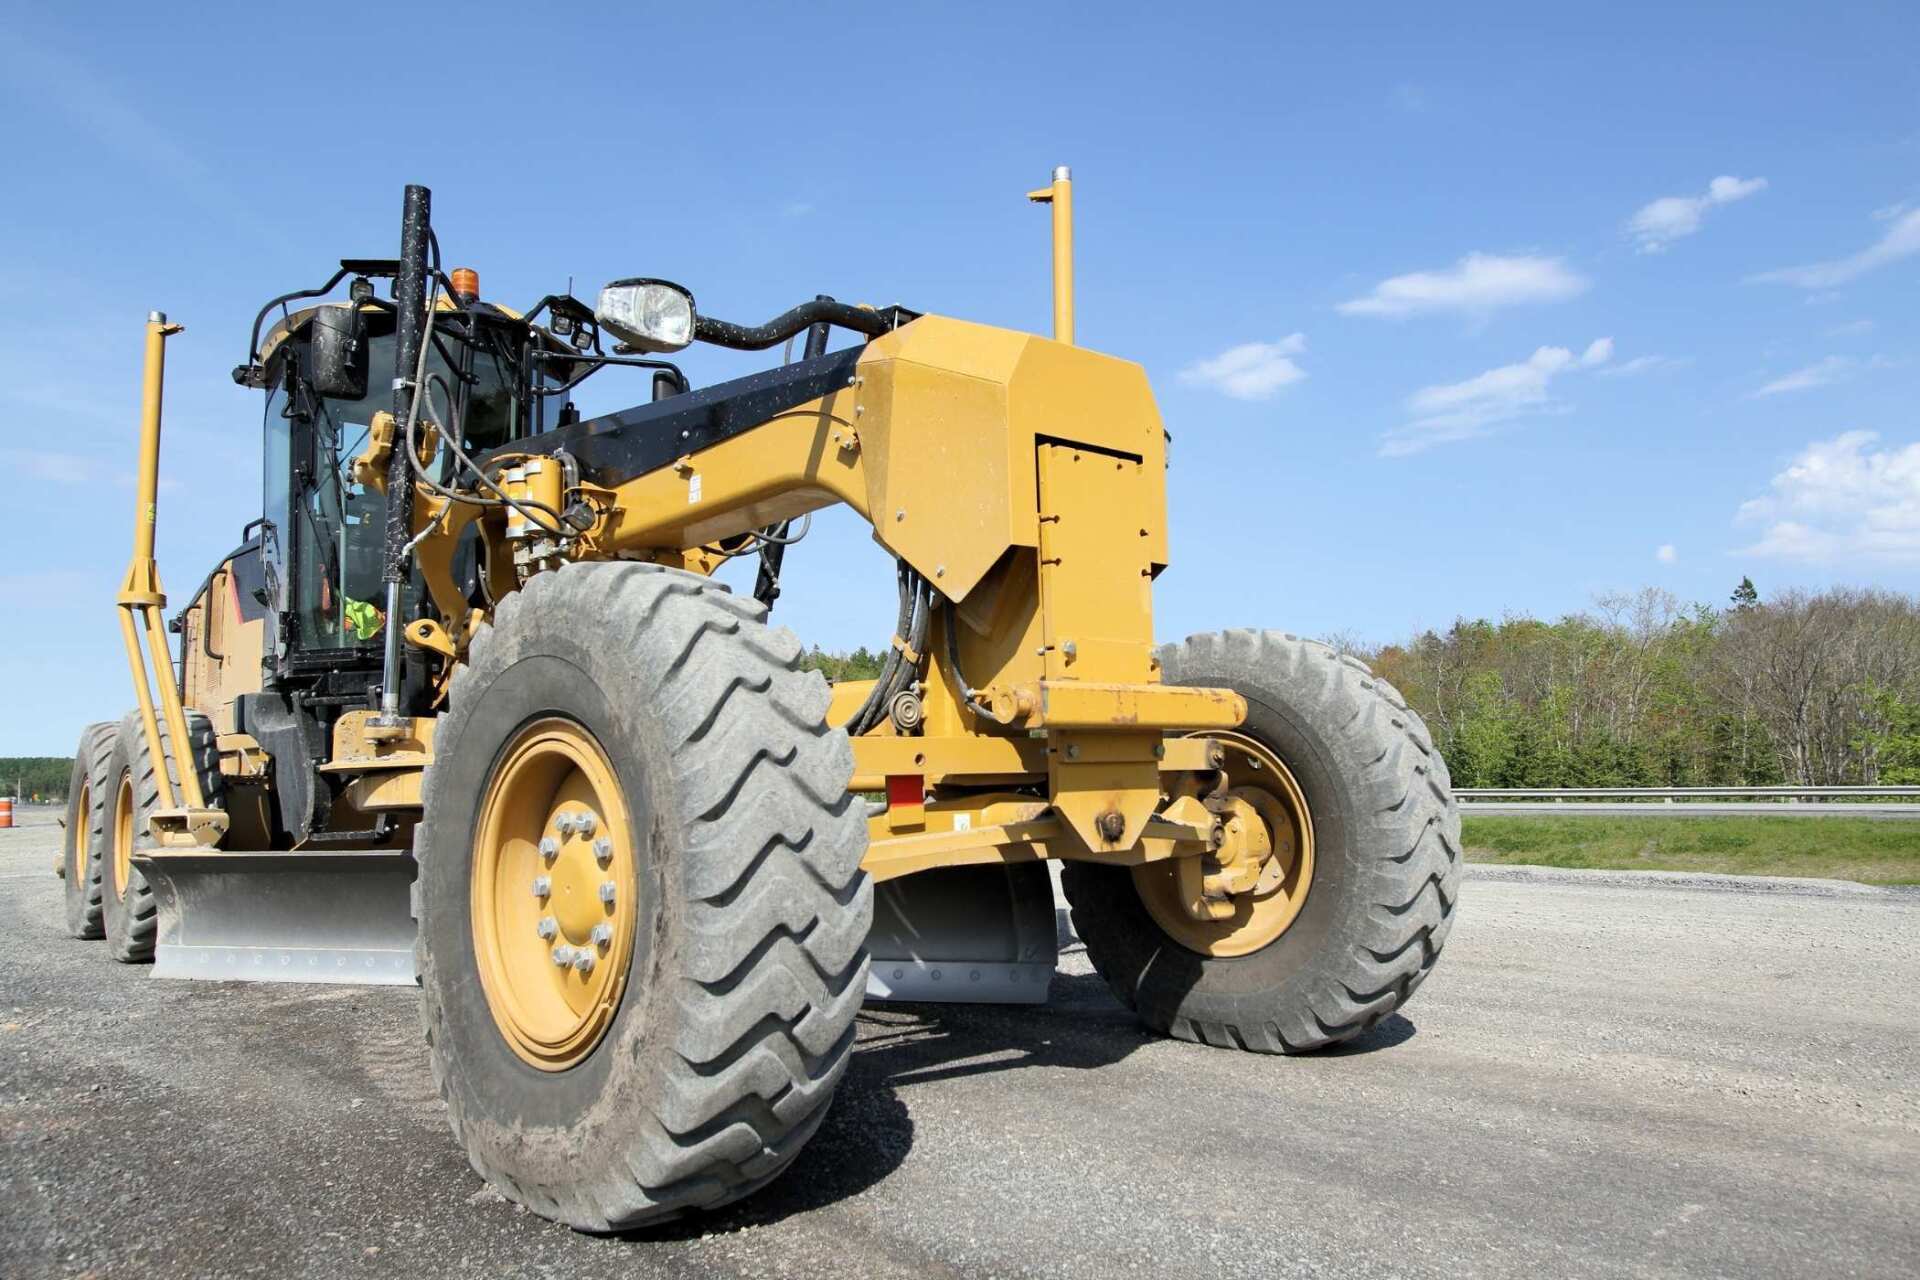
The next step in the asphalt pavement installation process is excavation and grading. This step is important in order to ensure a stable foundation for your new pavement.
First, the area to be paved is excavated to a depth of at least eight inches. This allows for the placement of a subbase, which provides extra support for your new pavement.
Once the excavation is complete, the area is graded and leveled so that it is ready to receive the new asphalt. This step ensures a smooth, level surface for your new pavement.
What is the most essential component of your asphalt pavement, if you were to guess? If you said asphalt, you’re wrong.
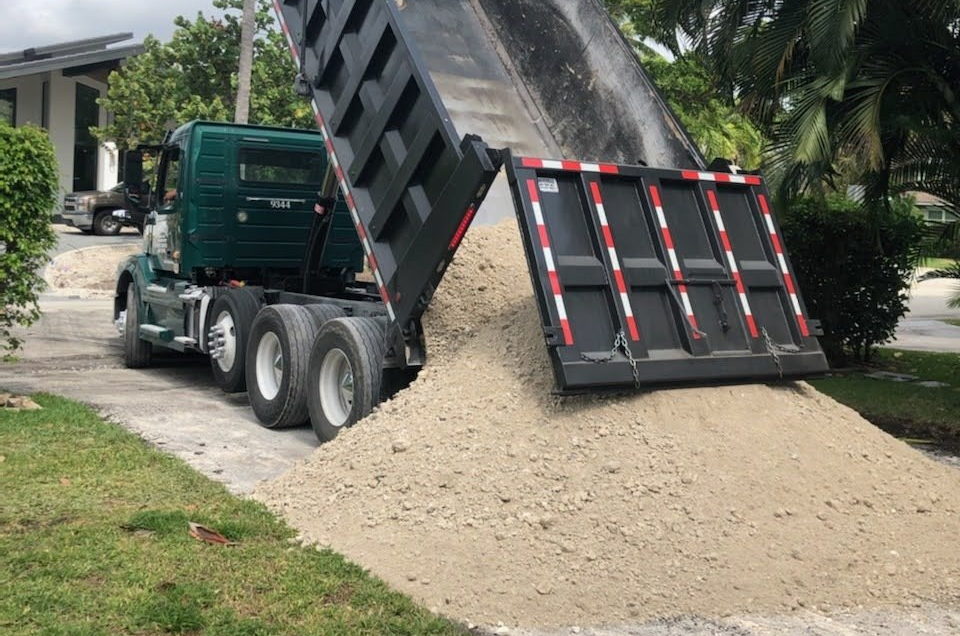
After the excavation and grading are complete, the next step in the process is to install a subbase. This layer of material provides extra support for your new pavement.
Once the sub-base is in place, the asphalt base course is installed. This layer of material is made up of compacted gravel and provides a stable foundation for your new pavement.
Your asphalt won’t last without a sub-base to support the new pavement.
It’s critical to test the sub-based for soft or weak areas that might endanger its structural integrity and, over time, reduce its longevity.
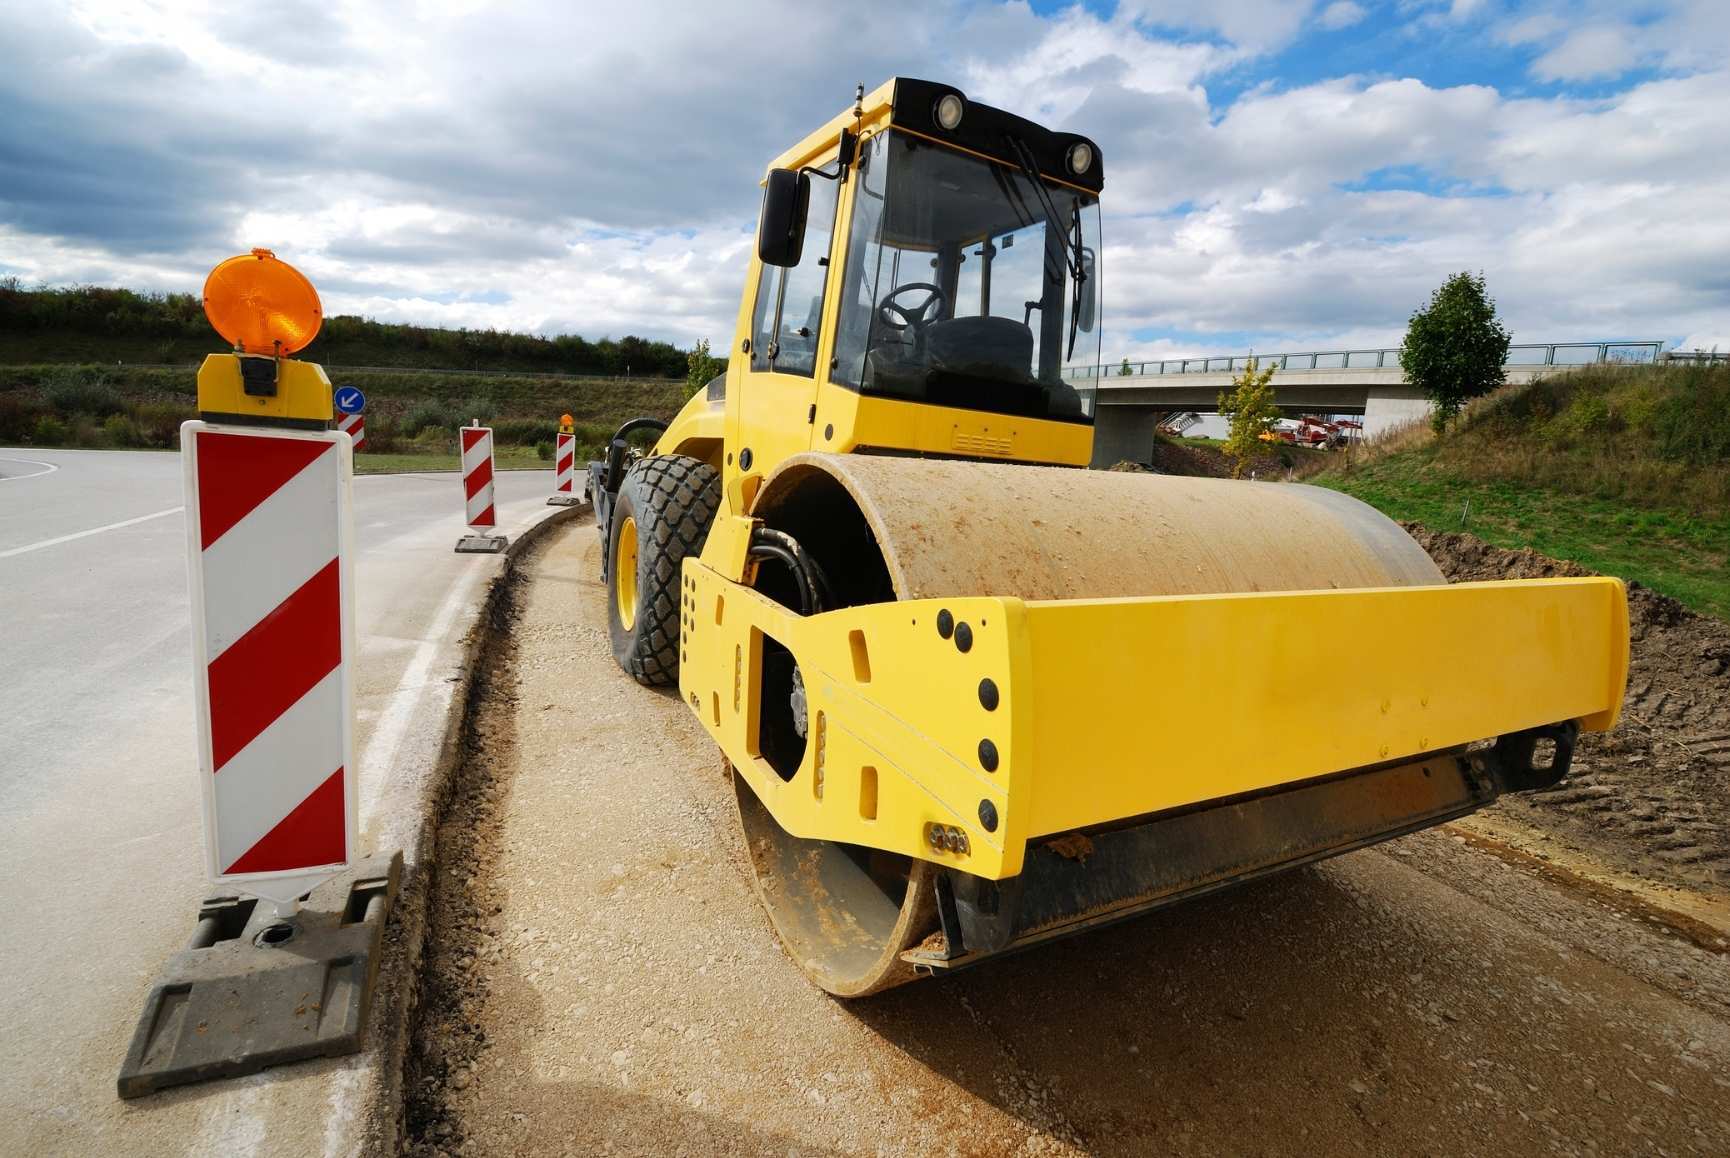
So after it’s been compacted, a process called proof roll is performed. By driving a heavy roller over the entire area, contractors can check for any soft spots or areas of instability. If any are found, they must be corrected before paving can begin.
With undercutting, any remaining vegetation is removed and the sub-base is trimmed to create a level surface. This step also helps improve drainage.
Finally, any cracks or holes in the sub-base are repaired at this time.
In this step, the binder course is applied. The binder layer helps to bind together the base and surface courses, providing a smooth transition between the two.
Binder course material is typically a hot mix asphalt or stone matrix asphalt. The binder course is compacted using a heavy roller, which provides compaction and stability to the pavement.
Before proceeding with the next step in the process (installing the surface course), let the binder course cool. If we attempt to install the surface course while the binder course is still hot, we’ll run the risk of damaging both layers of pavement.
Once the binder course has cooled, the contractors can begin installing the surface course.
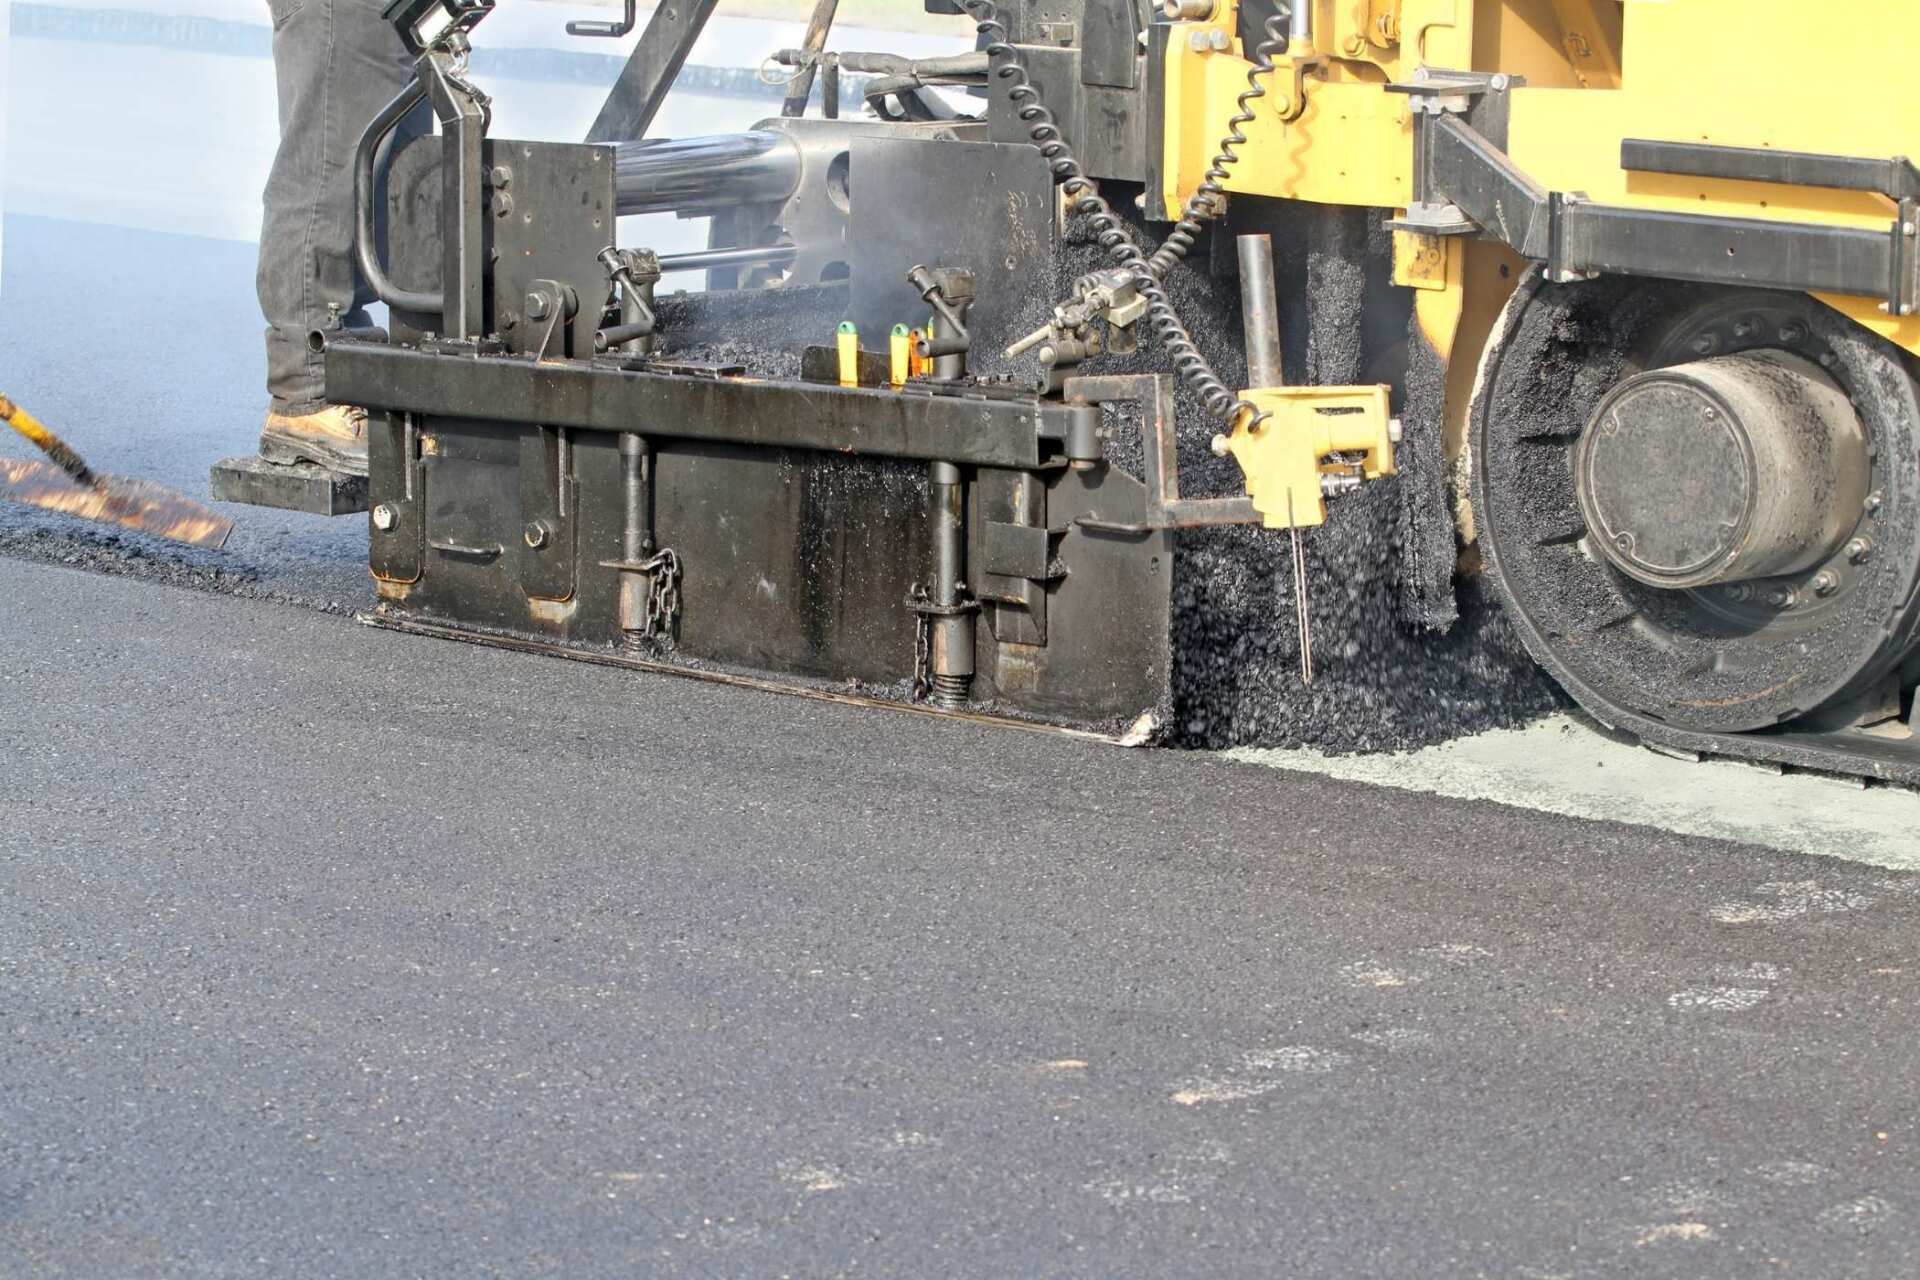
The new asphalt surface is installed by a paving machine. The machine lays the asphalt on the road and compacts it with a large roller.
This step is important because it creates a smooth, level surface for vehicles to travel on.
After the fresh surface asphalt has been installed, it needs to be left alone so that it can cure or harden properly.
Depending on the weather conditions, this process can take anywhere from 24 hours to a week. Once the new asphalt surface has cured, it will be ready for traffic!
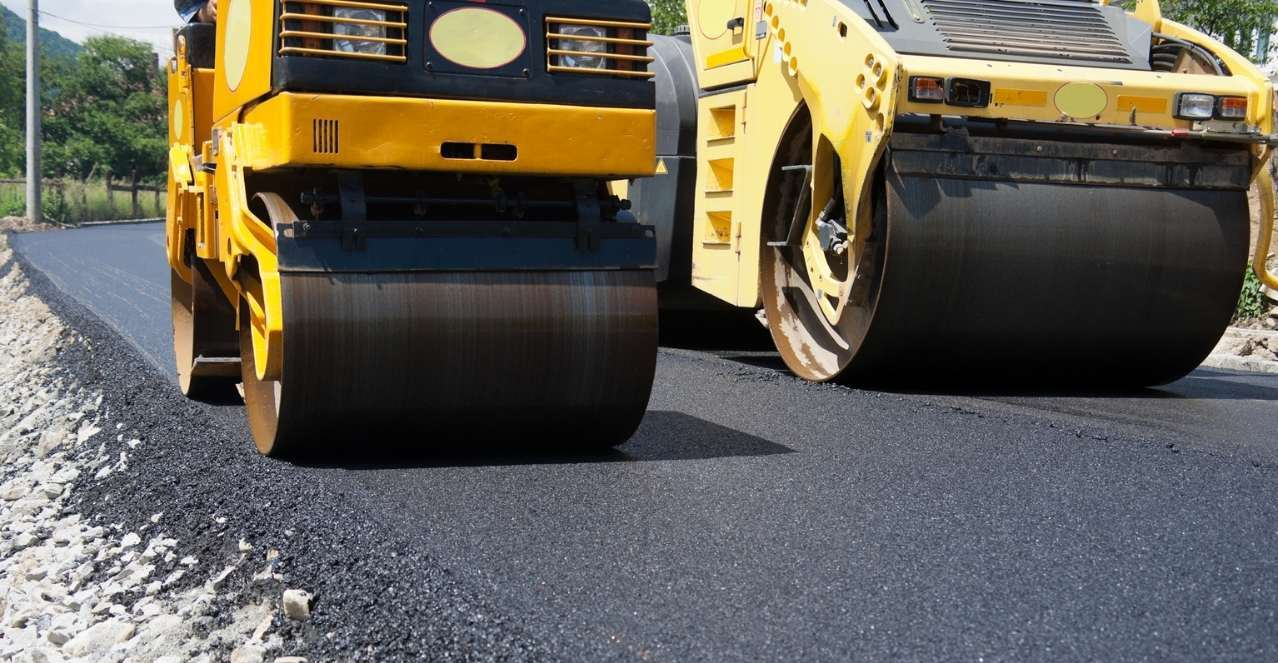
After the new asphalt has been laid down, it needs to be compacted using a roller truck. This ensures that the pavement is smooth and level.
Once the surface is compacted, any final touches can be made, such as painting lines or adding signage. And that’s it! You’ve now installed brand new asphalt pavement.
So there you have it! Everything you need to know about the asphalt installation process. If you’re still feeling a little lost, don’t worry – we’re here to help.
Miami Asphalt Paving and Sealcoating is your trusted contractor for all things asphalt-related, so don’t hesitate to reach out if you need assistance with your project.
As they say, it’s best to leave the heavy work to the professionals! Our paving contractors would be more than happy to help get your project off the ground (or should we say, installed?). Give us a call today!
© 2025 Miami Asphalt Paving and Sealcoating